

Welding Automation Company
Cyclotron is the leading welding automation company in India.
We specialise in providing high-quality welding tables, positioners & welding fixtures to meet the needs of various industries. As a reliable manufacturer, supplier & exporter of welding products in India, we take pride in our commitment to delivering innovative and effective solutions to our customers
Standard Products
- Cyclotron Fixture Welding tables
- Welding table accessories
- Welding Positioners/Manipulators
- NAAMS Global standard components
Welding Positioner Manufacturer in India
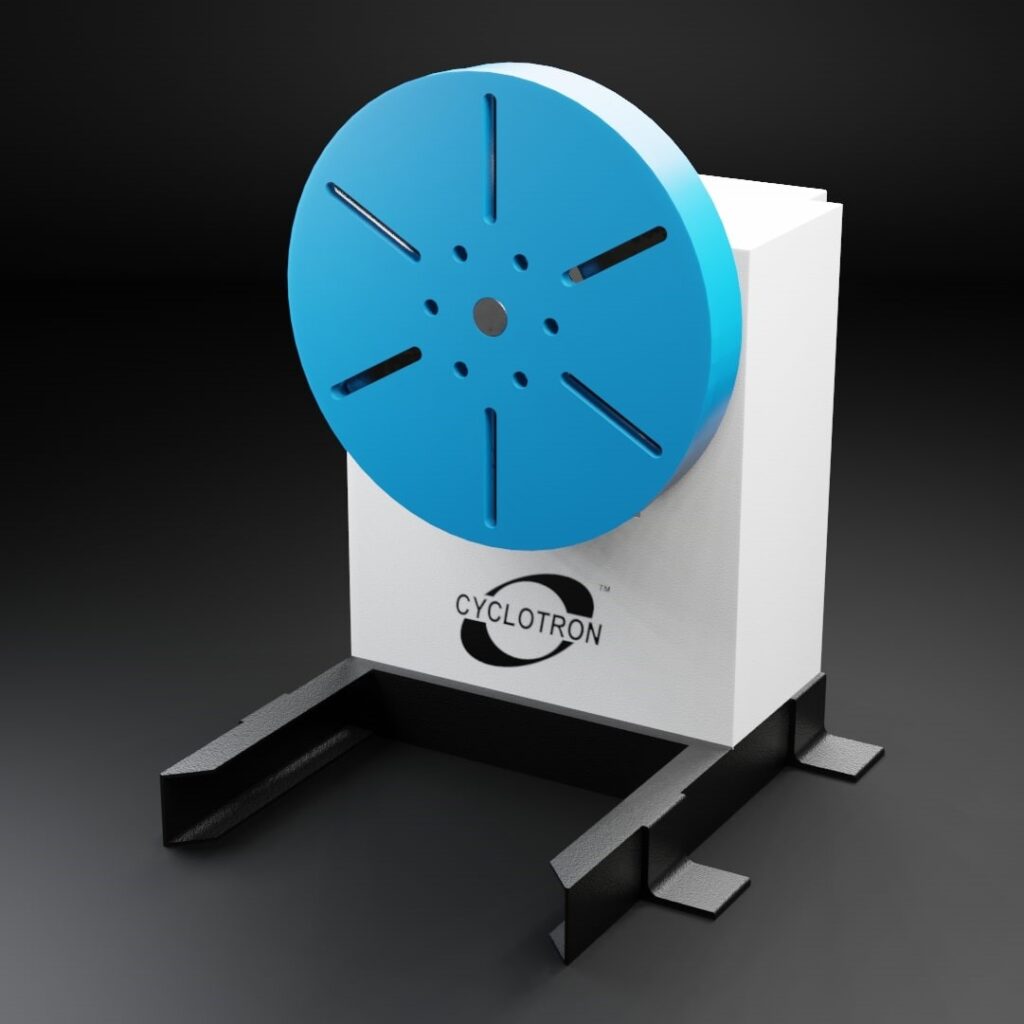
We at Cyclotron Automations are manufacturers of Welding positioners, weld positioners, Welding turntables, Rotary tables for welding, robotic welding turntables in India.
We specialise in providing high-quality welding positioners to meet the needs of various industries. As a reliable manufacturer, exporter and supplier of welding turntables based in India, we take pride in our commitment to delivering innovative and effective solutions to our customers.
Headstock Tailstock Welding Positioners in India
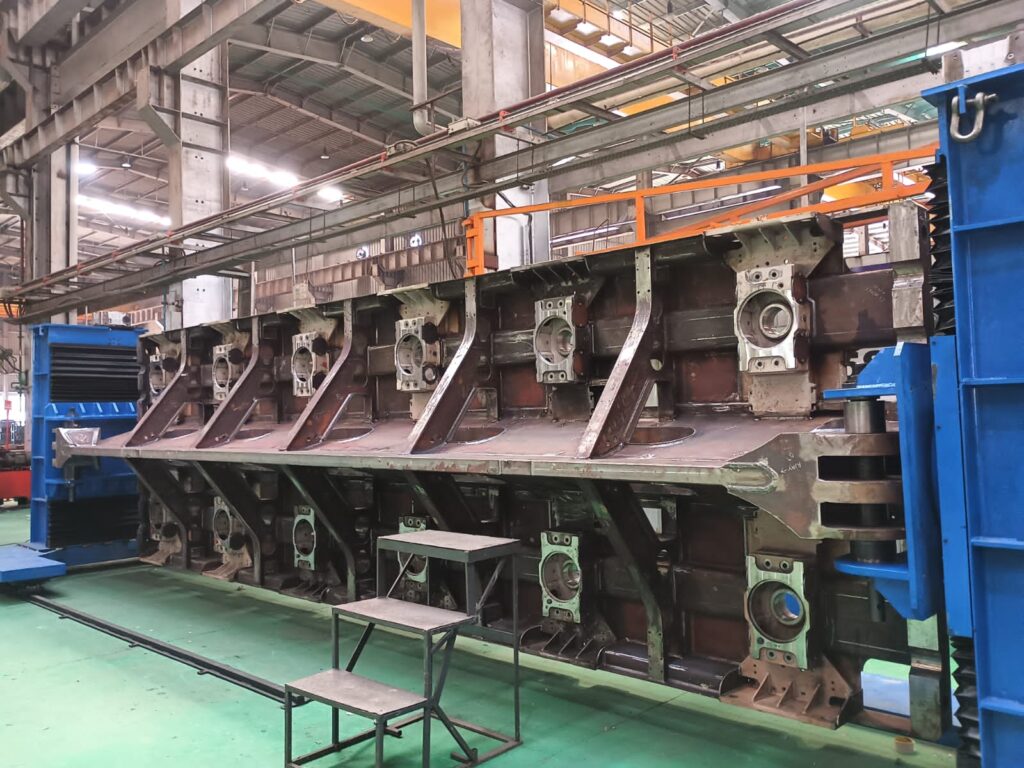
12 Tons Welding Positioner
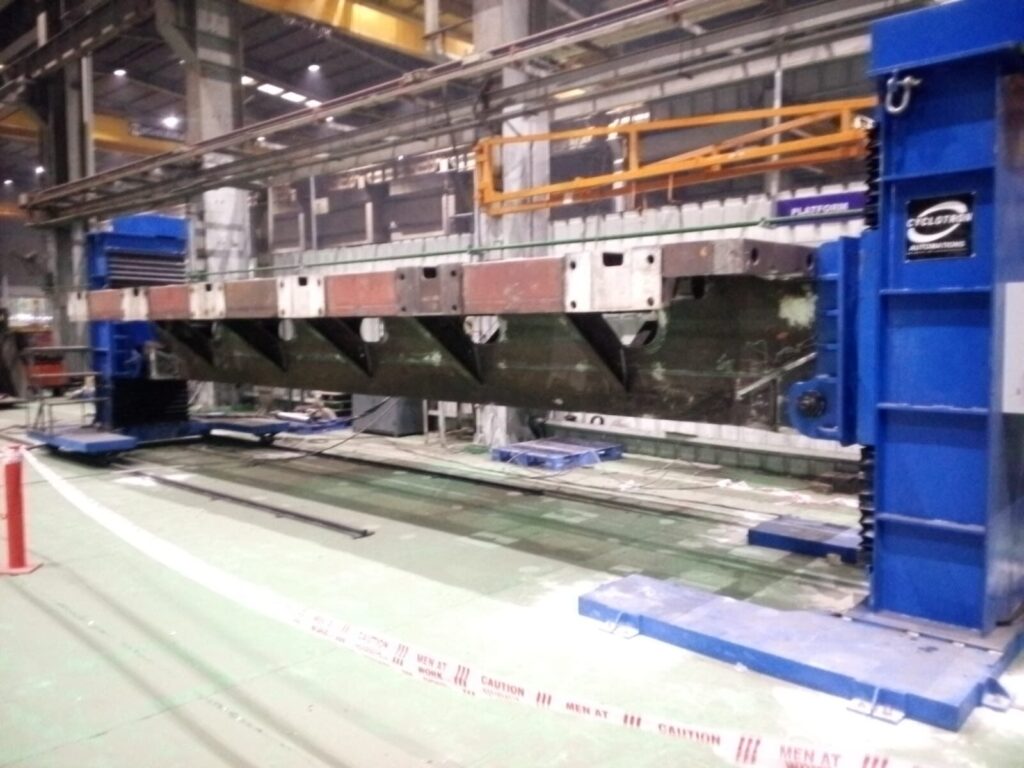
12 Tons Welding Positioner
Looking for a reliable Welding Positioner Manufacturer?
Contact us at +91 9881217196
OR
Fill this form and our representative will get back to you.
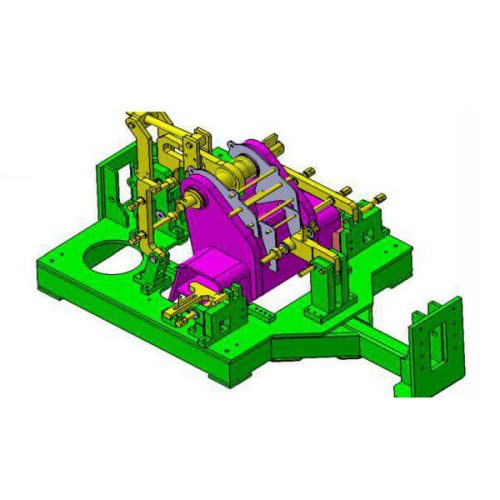
Welding fixture manufacturer in India
Cyclotron is the Leading Manufacturer & exporter of Welding fixture manufacturer in India. We manufacture, supply & export all kinds of welding fixtures according to the industrial needs.
Our major focus is on innovation and development of Modular fixturing solutions.
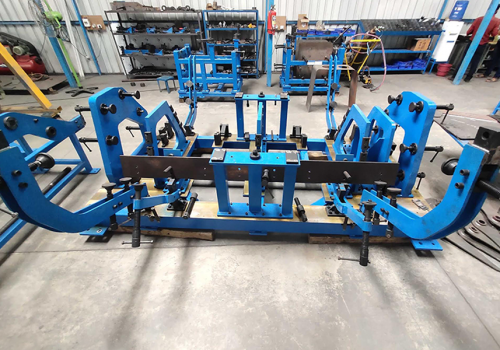
Loader Bucket Welding fixture
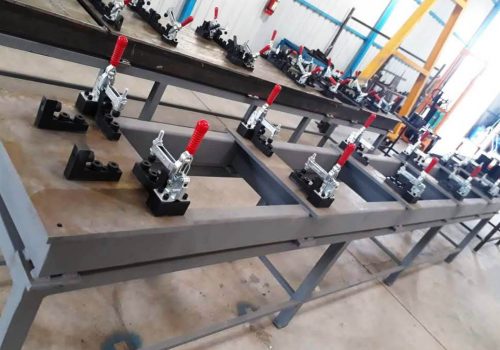
BIW Welding fixture
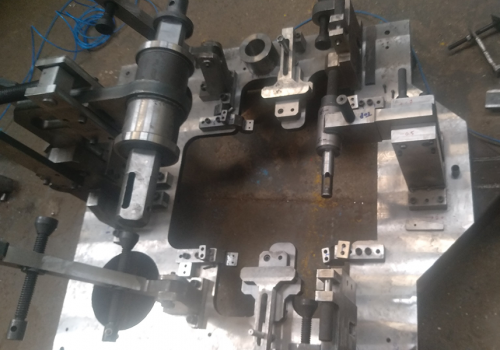
Axle Support Welding fixture
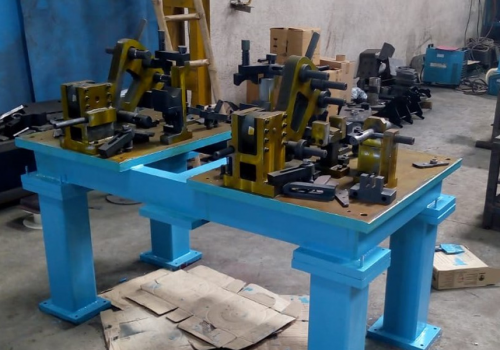
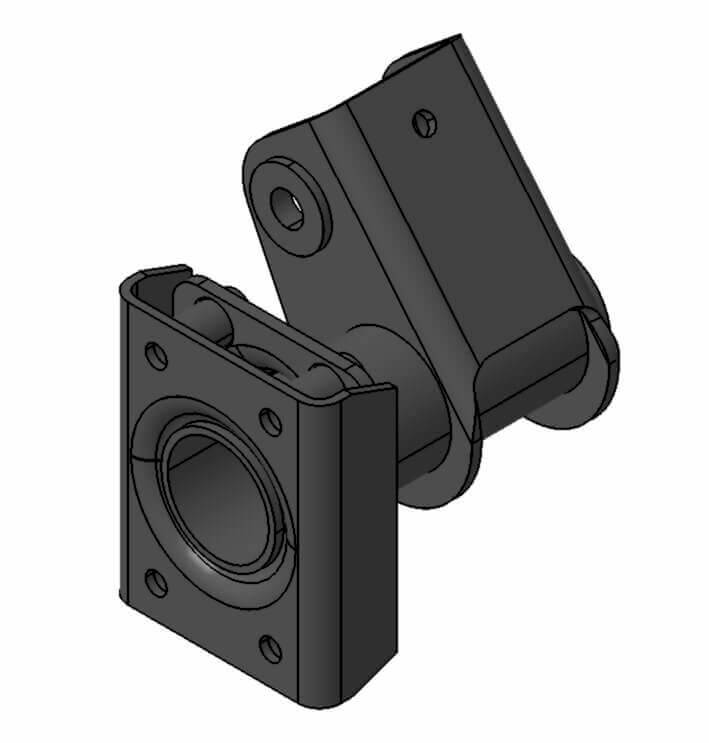
Slider assembly
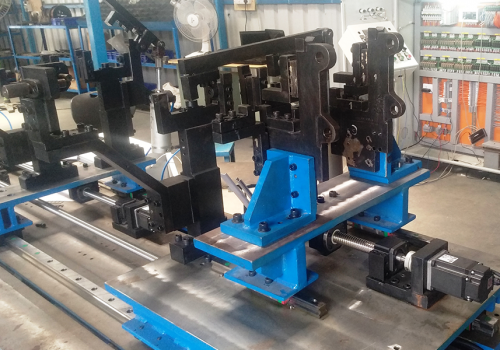
welding fixture
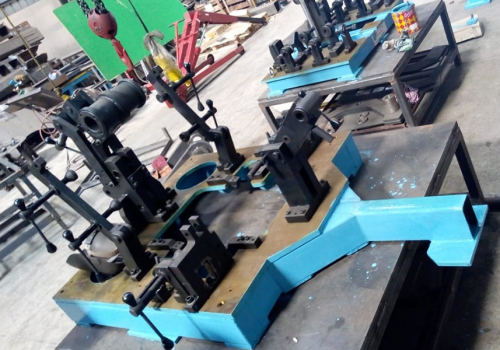
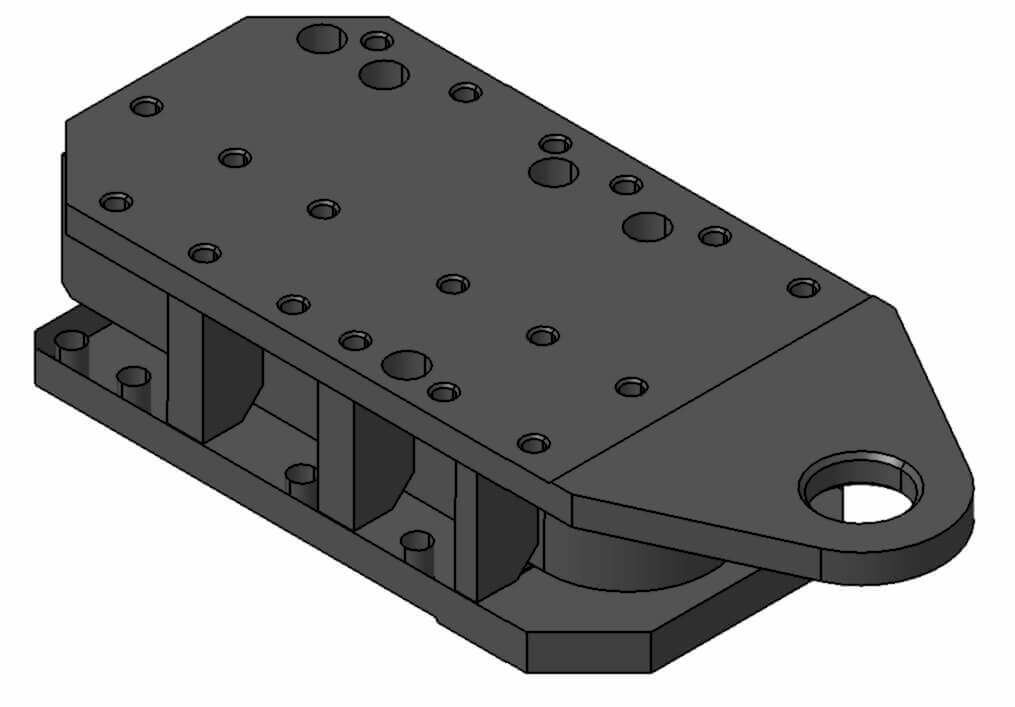
Pivot assembly
Blogs By Cyclotron
Cyclotron:
A revolution in the world of welding
We established our presence in the market in 2018, specializing in metal working with a focus on manufacturing professional-grade welding automation products
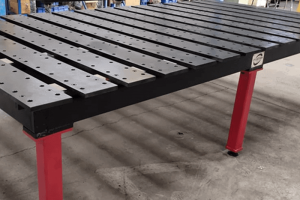
Welding Table: A complete Guide
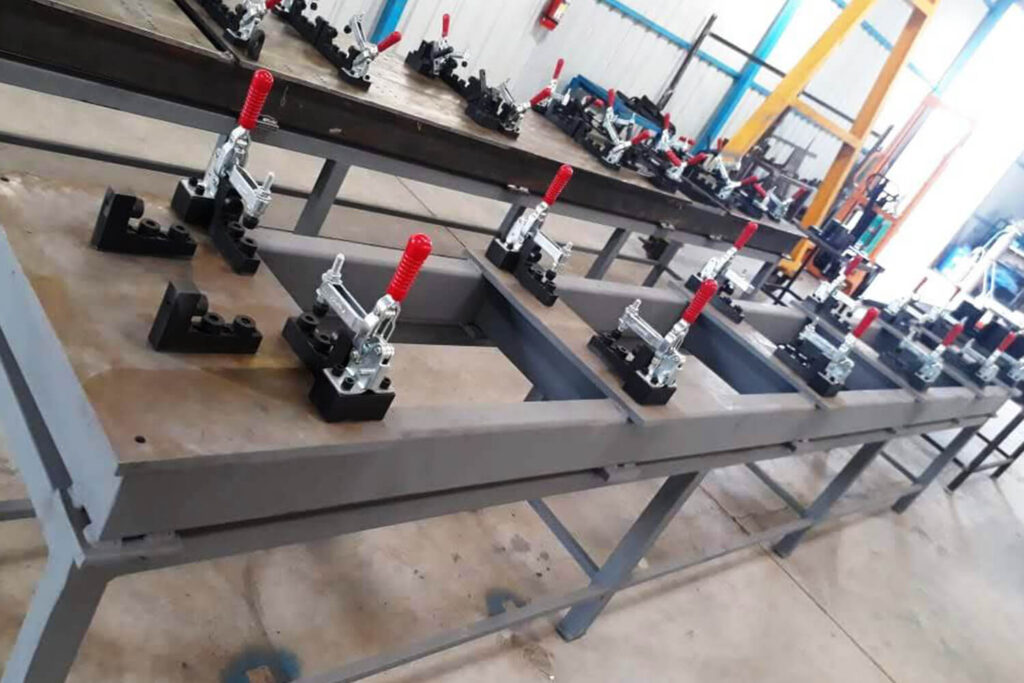
A welding table is a flat and stable surface at the waist height of a welder which operates like a workbench for welding. It provides clamping surface for any parts to be welded and fabricated instead of welding it on ground.
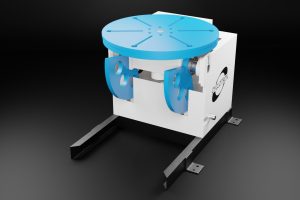
Cyclotron Welding Positioners
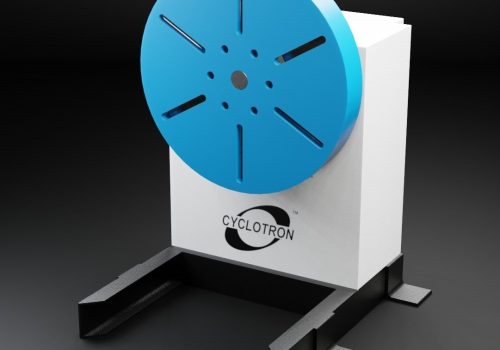
Welding Positioners are mechanical devices that hold a work part and provides flexibility for the welder to rotate the workpiece as per the requirement of the welder. It allows the operator to work at a certain angle providing a consistent surface to weld.
Welding Positioners in India

12 Tons Welding Positioner

12 Tons Welding Positioner
Welding Fixtures Manufacturer in India
In order to position a workpiece with great precision and assist during welding, a strong and well-built fixture is necessary. We, at CYCLOTRON Robotics and Automation Pvt Ltd, is welding automation company in Pune, India. We bring in advanced technologies to manufacture highly reliable fixtures that can accommodate modifications or any fluctuations in the manufacturing conditions besides performing its basic function.
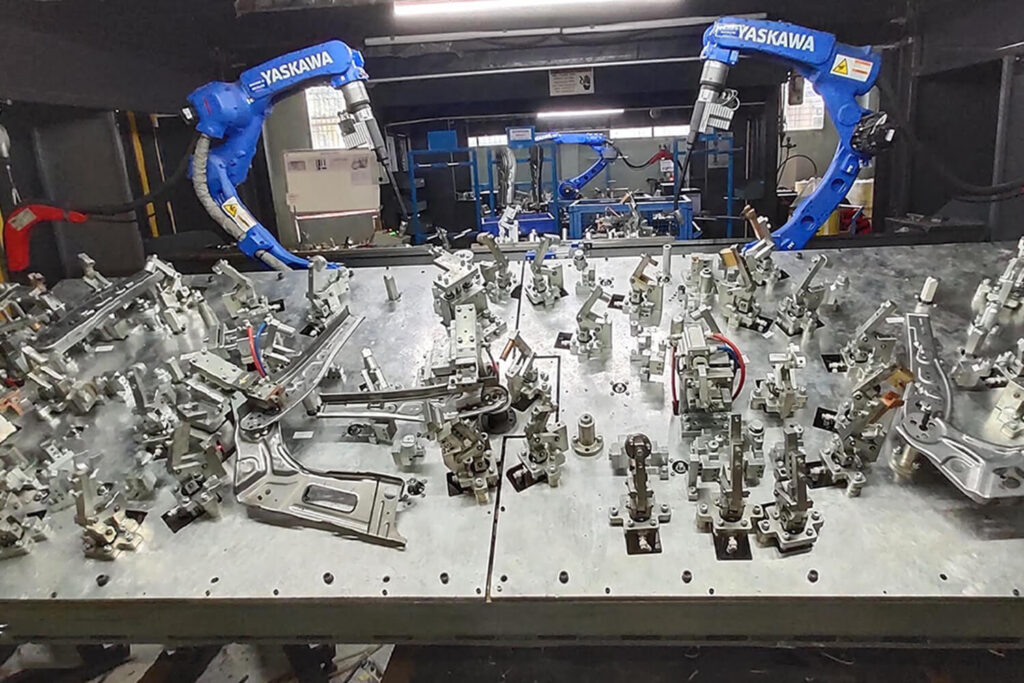
Right from various spot welding fixtures to MIG welding to Co2 welding fixtures, we provide a tough competition to the other leading manufacturers in this industry. Our welding fixtures are specifically designed to provide excellent support to the parts in the manufacture of vehicles ranging from simple two-wheelers to complex earthmovers.
We are experts in Welding fixtures, Biw fixtures, Construction fixtures, Robotic welding fixtures, checking fixtures, Robotic turnkey solutions, etc.
Welding Manipulators
Customers List


Why do you require a welding fixture?
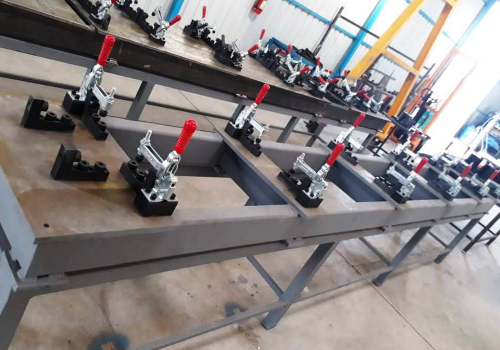
Welding fixtures are used when fabricating parts with a welded joint. A weld fixture holds the pieces to be joined in a predefined position during the welding operation, and is often used in tandem with a roller-type machine tool.
It ensures high weld quality to a maximum degree.
They come in various forms, depending on what’s required. It provides an adequate backing to the workpiece in order to prevent warpage and improve the quality of the weld.
It holds the workpiece securely in place as it passes through the welding process.
The right welding fixture can make all the difference. When choosing your welding fixture, consider its quality, operation, and durability.
